
DIY permanent light kits give homeowners a better way to celebrate, improve curb appeal, and light up the property for security without repeating the seasonal setup and takedown routine. The right system stays discreet during the day, tucked beneath soffits, trim, or flashing. At night, it turns the same roofline into a polished display of warm white, holiday color, team spirit, or subtle architectural accent lighting. It is a home upgrade that works on December 24, July 4, game day, and an ordinary Tuesday night.
Why Permanent Lighting Is More Than Holiday Decor
Seasonal string lights solve one short-term problem, but they create another: storage, installation, replacement bulbs, extension cords, and the annual risk of working from a ladder in cold weather. Permanent lighting replaces that cycle with a system designed to remain in place and work year-round.
That matters because most homeowners do not want their house to look like a holiday display 365 days a year. They want lighting that disappears into the architecture by day and feels intentional after dark. A well-planned system can create a clean warm-white outline for everyday curb appeal, then shift to red, white, and blue for a summer holiday or school colors for a big game.
The security benefit is equally practical. Scheduled exterior lighting can make entrances, walkways, rooflines, and gathering spaces feel more visible and welcoming after sunset. It is not a replacement for dedicated security equipment, but it can be part of a smarter nighttime routine.
What DIY Permanent Light Kits Should Include
Not every kit delivers the same daytime appearance, color quality, or long-term reliability. Before choosing a system, look past the number of lights in the box and consider how the full setup will perform on your home.
A professional-grade DIY kit should include durable, weather-resistant lights, mounting components suited to exterior trim, a controller, power supply, extension options, and app-based control. The controller matters because it determines how easily you can build colors, patterns, zones, and schedules instead of simply turning lights on and off.
RGBW lighting is another detail worth understanding. Basic RGB lights blend red, green, and blue to create colors, but a dedicated white diode provides a cleaner, more natural warm-white option. That difference shows up on everyday evenings, when you want your home to feel refined rather than brightly colored.
Look at light output, too. Roofline lighting should be visible from the street without overpowering the home or creating harsh glare. The goal is an even, intentional line of light that complements the architecture. Light spacing, placement depth, and the color of your soffit or trim can all affect the final look.
Finally, consider serviceability. Exterior lighting is a long-term investment, so choose a system with clear planning guidance, dependable components, and support if you need help configuring the installation. A stated long life expectancy is valuable, but so is the ability to get answers when your home has an unusual roofline or power layout.
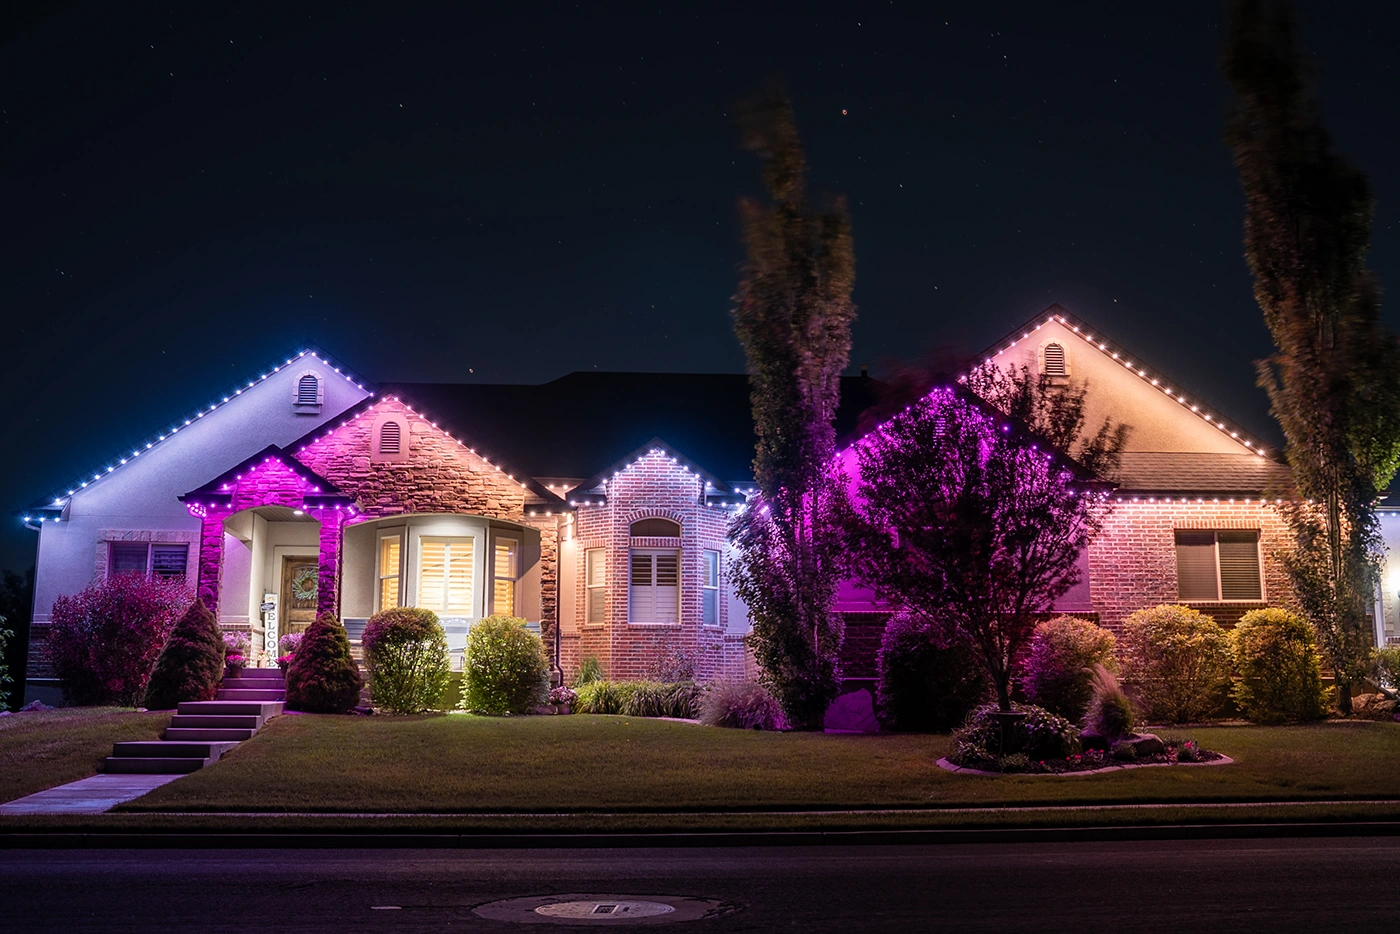 Plan the Installation Before You Open the Box
The cleanest installations begin with a walk around the property. Decide which elevations deserve lighting first. Many homeowners start with the front roofline and entryway, then expand to side peaks, garage lines, patios, pergolas, or the backyard entertaining area.
Measure each run carefully, including peaks, returns, corners, and the path back to power. Do not estimate from the ground alone. A few extra feet at a corner can change the kit size you need, and a thoughtful plan helps avoid placing a controller where it will be difficult to access later.
Pay attention to the mounting surface. Soffits, fascia, trim, and flashing all call for slightly different approaches. The lights should be positioned where they are hidden from normal daytime viewing while still casting light outward at night. On many homes, a consistent setback from the fascia creates the clean, scalloped pattern people associate with professionally installed permanent lighting.
Before installation day, confirm that your exterior power source is appropriate for the system and protected from the elements. Map where extension runs and connections will go. Keep connections organized and protected according to the kit instructions, and avoid treating outdoor electrical work as an afterthought.
Install for a Clean, Consistent Finish
DIY does not have to mean improvised. The difference between a polished roofline and a distracting one often comes down to consistency.
Start with the most visible straight run. Establish your light position and spacing before attaching the entire section. Step back from the street or driveway after the first few lights are placed. What looks centered from a ladder may look uneven from the curb.
Work methodically around corners and peaks. Keep the cable route tidy, avoid unnecessary tension, and use the mounting method provided for the material you are attaching to. Rushing this part can leave a line that sags, wanders, or becomes visible during the day.
Test sections as you go instead of waiting until every run is mounted. A quick test can catch a loose connection or planning issue while it is still easy to reach. Once the physical installation is complete, use the app to confirm that zones respond as expected and that your control hardware is located where Wi-Fi connectivity is reliable.
For homes with steep rooflines, multiple stories, complicated trim, or limited safe ladder access, DIY may not be the best route. There is no prize for forcing a difficult installation. A professional installation can be the better value when it reduces risk and delivers a more precise finish.
Make the App Part of the Upgrade
The installation is only half the experience. Smart controls are what turn permanent lights into lighting you will actually use throughout the year.
Set an everyday warm-white schedule first. This gives your home an elevated, finished look without requiring daily adjustments. Then create a few favorites for the occasions your family celebrates most: holidays, birthdays, local teams, neighborhood events, or a backyard gathering.
With systems that offer extensive color choices and preset patterns, restraint is often the secret to a great display. A single color, a two-color alternating pattern, or a soft warm-white scene can have more impact than an overly busy animation. Save the big motion effects for parties and holidays, then return to a calmer scene for nightly curb appeal.
EverLights ClickLights systems are designed for homeowners who want that professional-grade look with DIY-configurable control, including RGBW color, scheduling, and patterns that make changing the mood of the home a matter of a few taps.
Know When DIY Is the Right Fit
DIY permanent lighting is an excellent option for homeowners who are comfortable measuring, using ladders safely, following electrical guidance, and taking the time to plan the layout. It can offer meaningful savings while still delivering a premium, permanent result.
It depends on the house, though. A single-story home with accessible soffits and straightforward rooflines is generally more DIY-friendly than a tall, heavily peaked home with complex architecture. Your time also has value. If you want consultation, installation, setup, and support handled from start to finish, professional service may give you more confidence.
Either path should lead to the same outcome: a clean daytime appearance, reliable nighttime performance, and no more seasonal light-hanging ritual.
Permanent lighting earns its place when it becomes part of how you enjoy your home, not another project waiting in the garage. Plan the runs carefully, choose components built for the long haul, and set scenes that make the house feel ready for whatever is worth celebrating next.